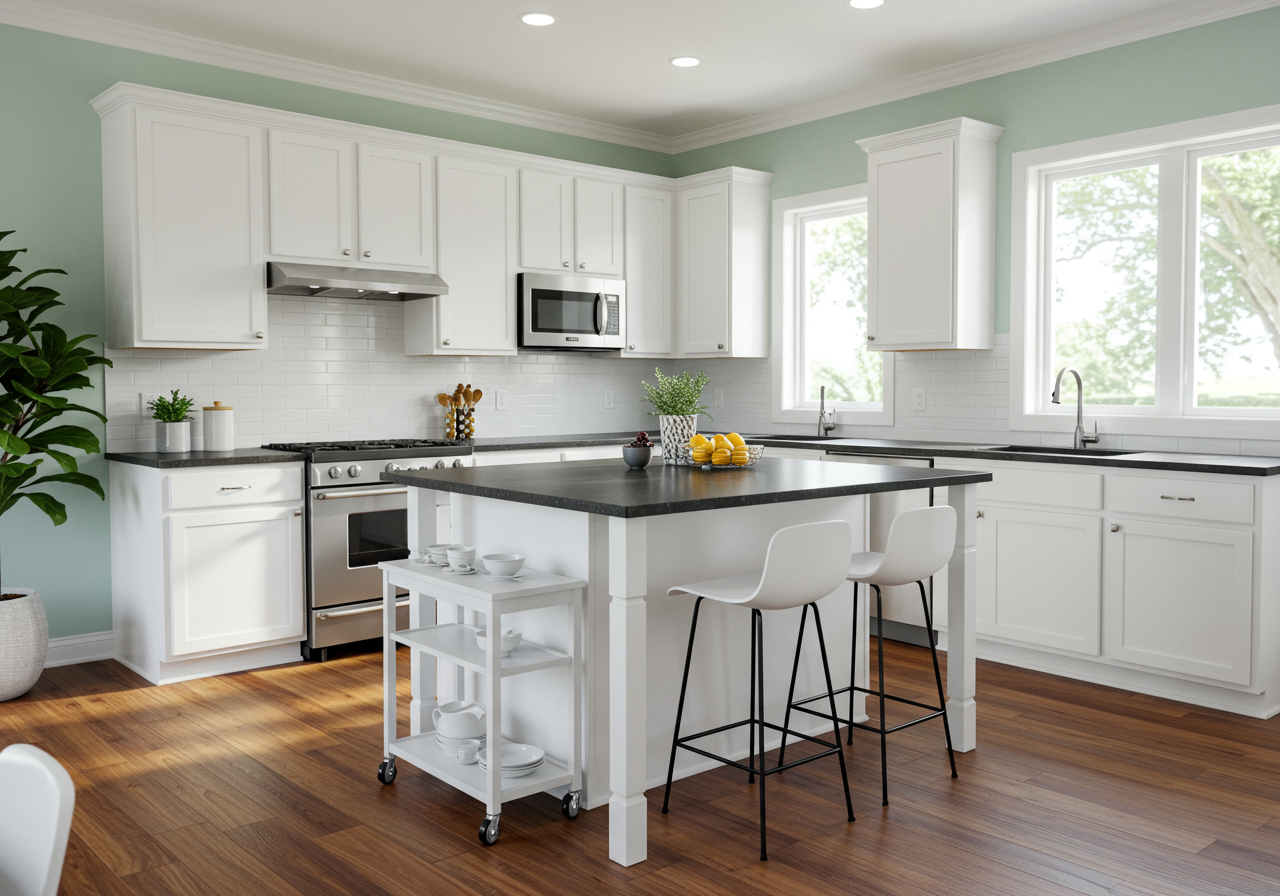
Kitchens can be one of the most expensive rooms to renovate, thanks to all the moving pieces: cabinets, countertops, backsplashes, appliances, plumbing, and more. But not every kitchen makeover has to be a giant renovation. There are a lot of ways you can freshen up the look of your kitchen for a relatively low cost, and one favorite project among DIYers is painting kitchen cabinets.
Choosing to paint your cabinets yourself can save you a lot of money — especially when you compare that to replacing the cabinets altogether. But it can be intimidating! Whether you’re looking to completely overhaul your kitchen or simply give it a facelift, these step-by-step instructions on how to paint kitchen cabinets are a great place to start for any beginner.
Pro Advice for Painting Kitchen Cabinets
For the average homeowner, tackling a large-scale project like painting bathroom or kitchen cabinets may seem intimidating, but like many DIY projects, tackling a big task saves money. I talked to Brandon Walker, who has over 20 years of professional painting experience, for his step-by-step advice on painting kitchen cabinets.
Here’s what he says you’ll need, and how to pull off this project like a pro.
Supplies for Painting Kitchen Cabinets
- Drop cloths or tarps to protect surfaces
- Screwdriver and other tools to remove hardware
- Degreaser and sponge
- Wood filler
- Medium grit sandpaper
- Dust mask
- Absorbent cloth
- Acetone or ammonia
- Paint in your chosen color
- Paintbrush, foam roller, or professional paint sprayer (and accompanying supplies for the painting style you select)
- Painter’s tape
How to Paint Kitchen Cabinets, Step by Step
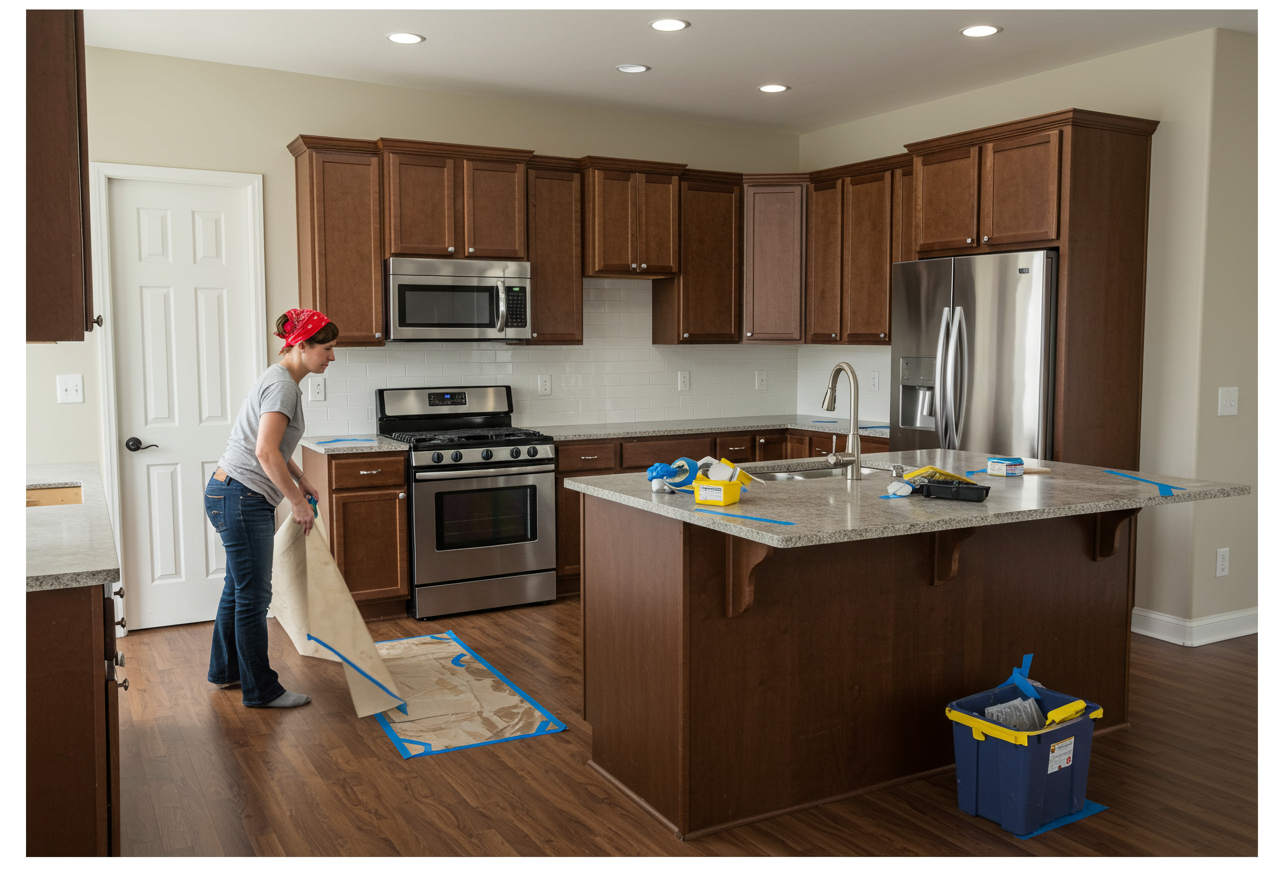
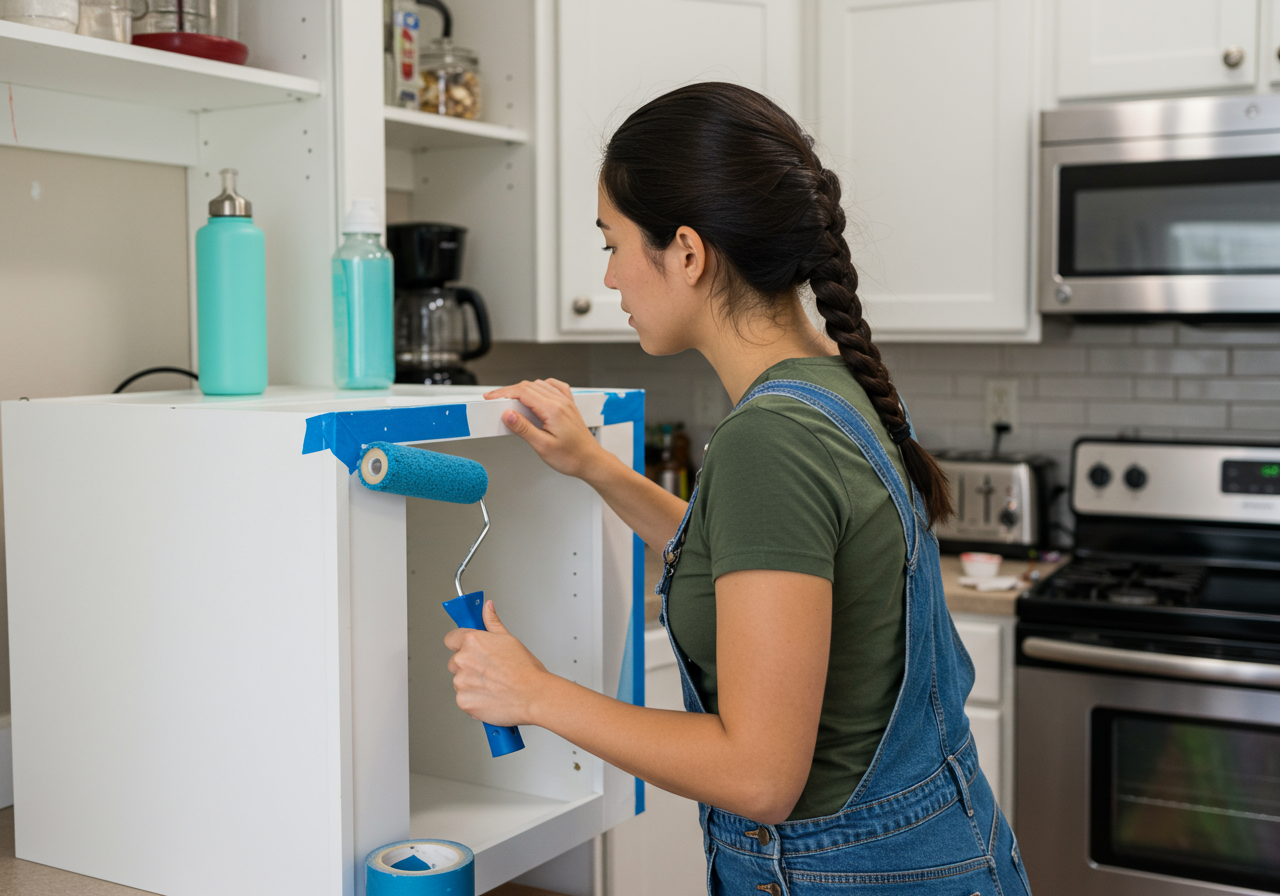
1. Prep the area in your kitchen.
Proper preparation helps ensure a smooth project, so Walker recommends removing everything from the cabinets and clearing the surrounding floor space to help you maneuver around the area.
Protecting your flooring is also essential. “Lay down drop cloths, tarps, plastic, masonite, or any other sort of floor covering to prevent damage to anything else while doing the work,” he says.
This is also the time when you should cover countertops and use painter’s tape around edges of the cabinet frames.
Make sure to create a space where you can paint the doors and drawers, too.
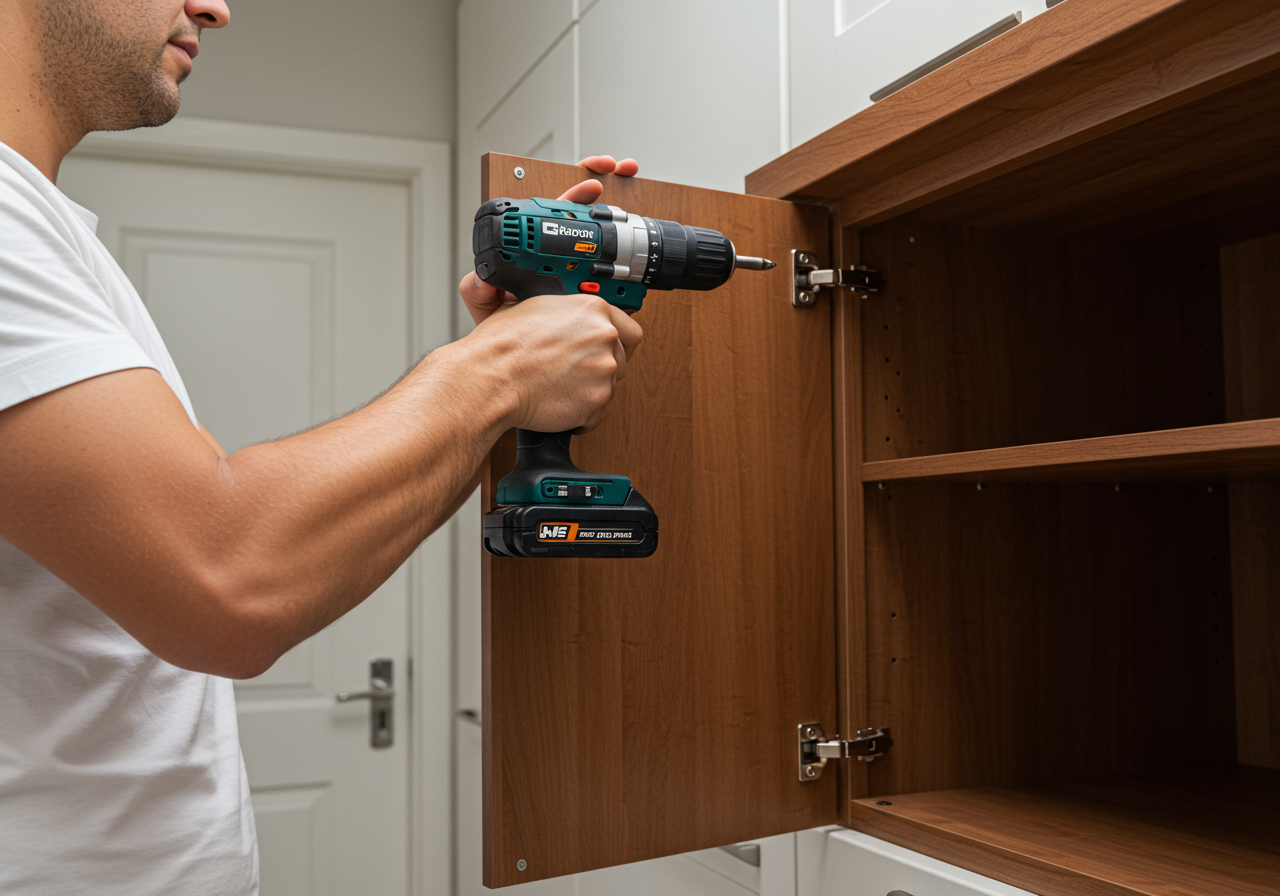
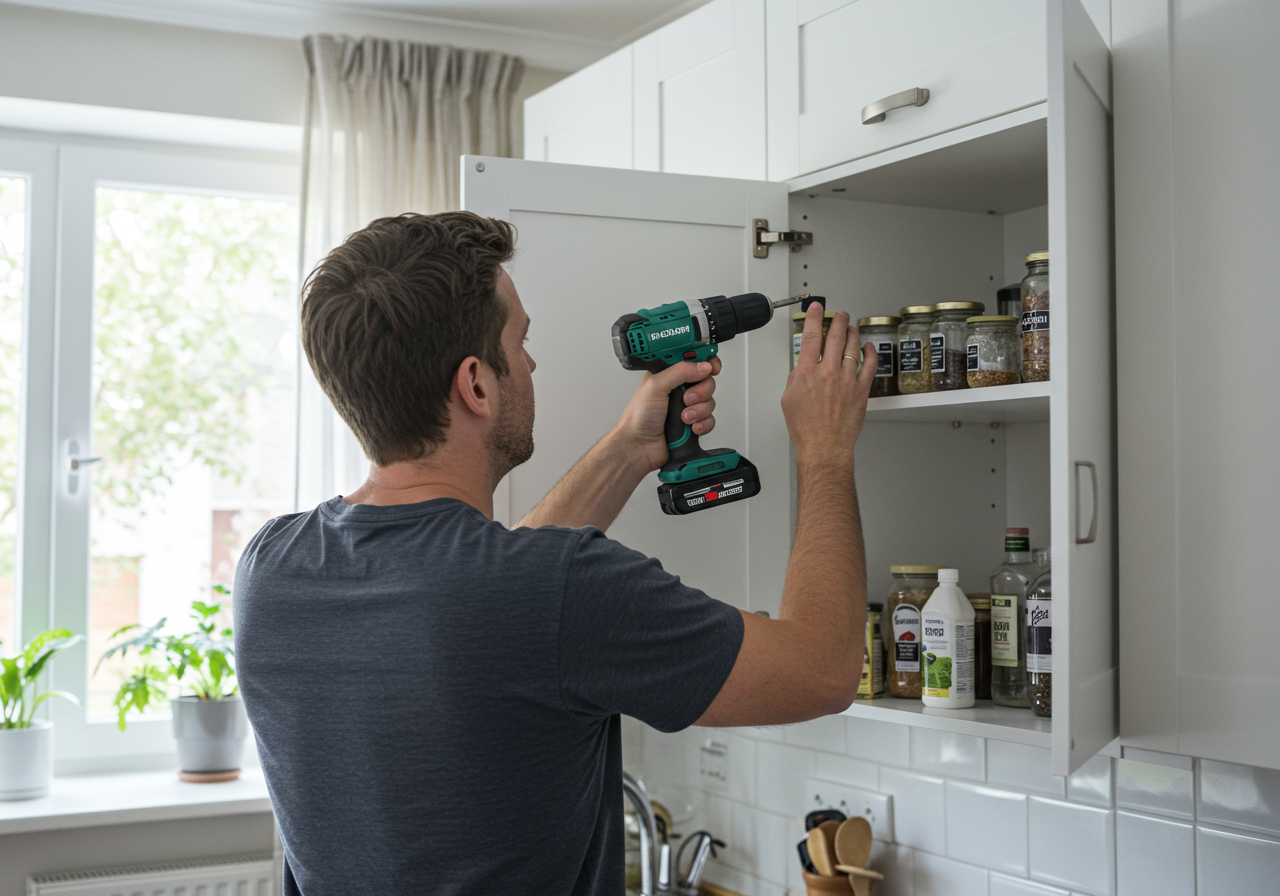
2. Remove cabinet hardware.
Depending on your cabinetry, taking off all of the hardware — inside and out — can be labor-intensive, but it’s a step you don’t want to skip.
Hardware includes knobs, handles, hinges, drawer slides, and soft-close apparatuses. “This step is important to both achieve total coverage, but also to make sure that these items don’t accidentally get covered in paint,” Walker advises.
3. Clean the kitchen cabinets.
Kitchen cabinets often have a layer of grease, dust, or debris that you may not be able to detect easily.
To be safe, Walker recommends using a degreaser (or a strong solvent and abrasive sponge for heavy grease) on the inside and outside of your cabinets.
Missing this crucial step can result in your primer and paint not adhering or cabinets that will chip easily. After cleaning, fill unwanted holes with wood filler.
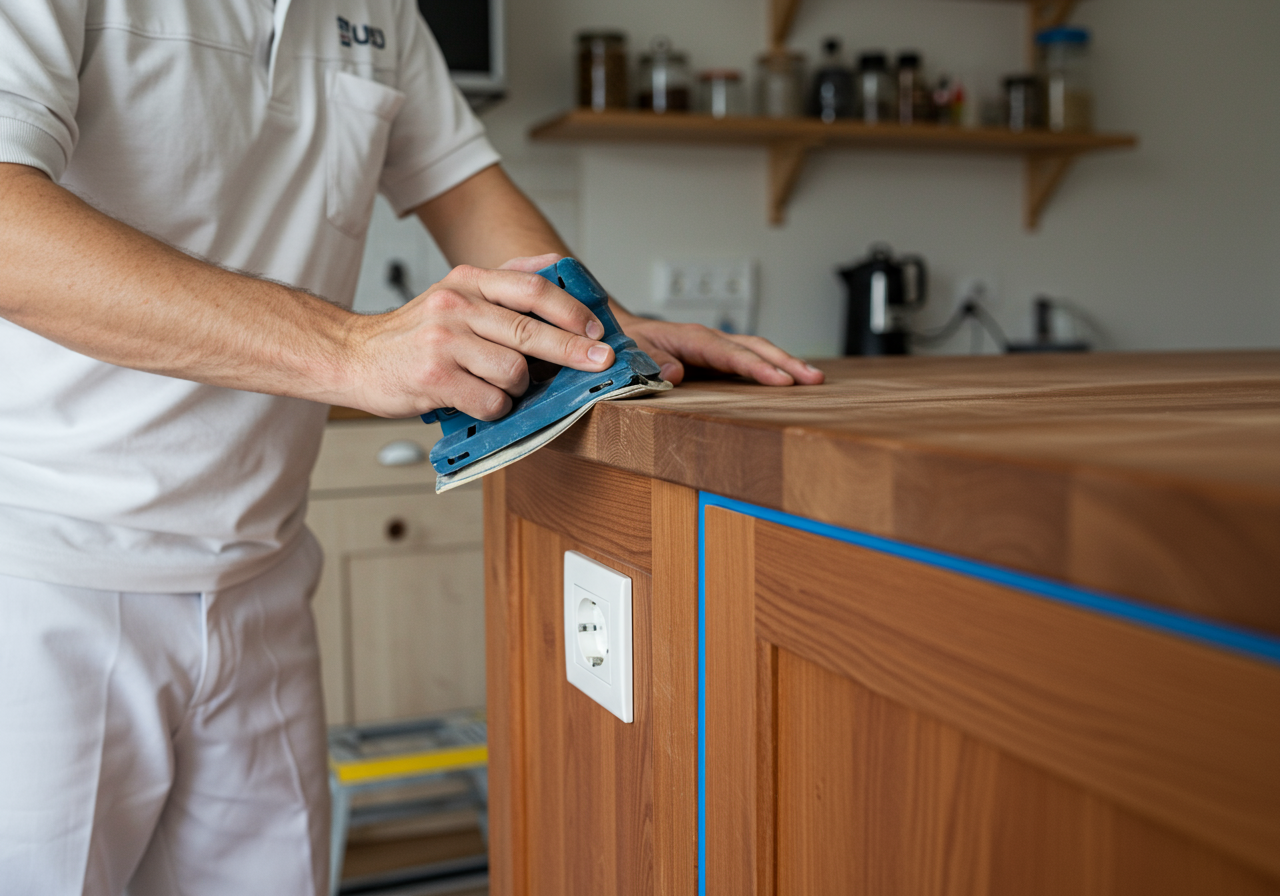
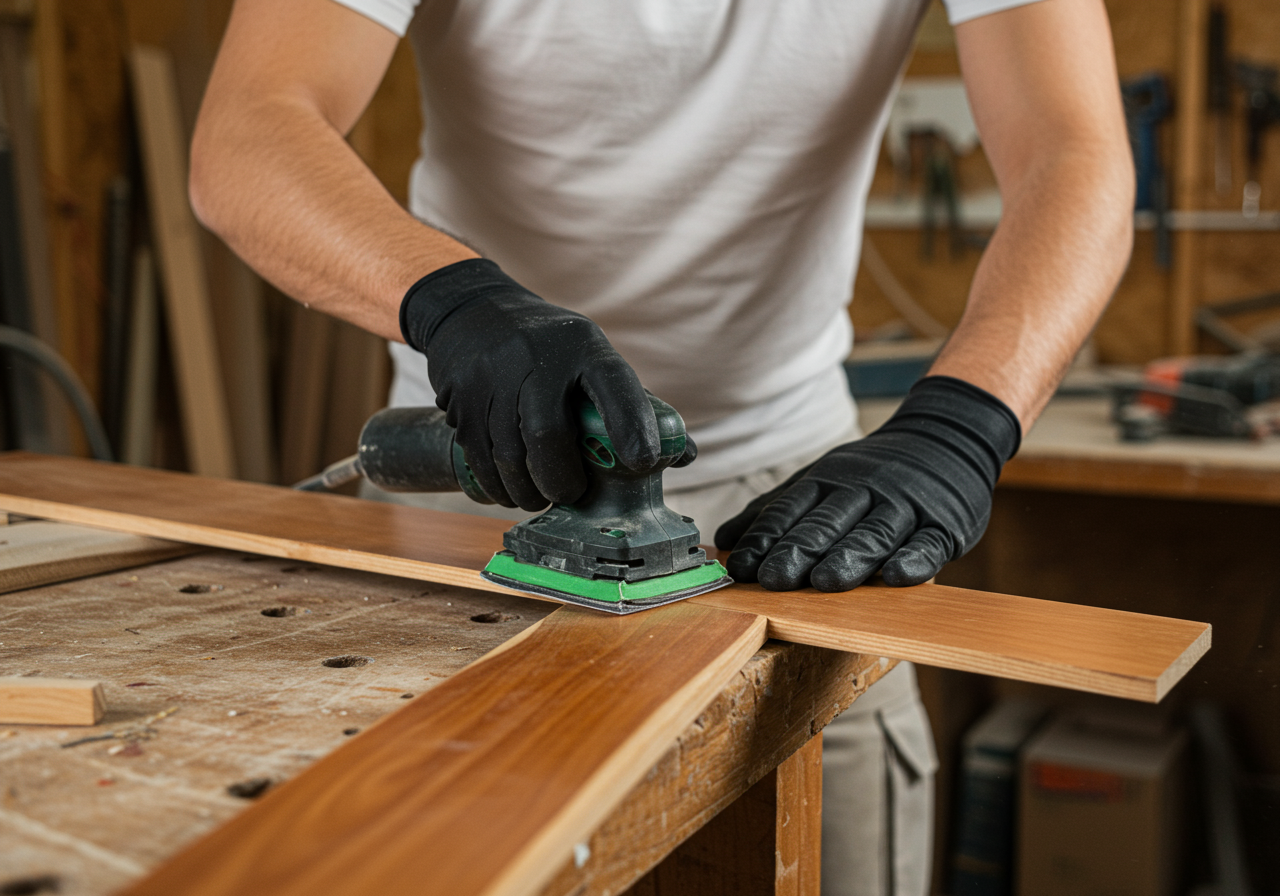
4. Sand your surfaces.
“Lightly sand the surfaces of the cabinets with a medium grit sandpaper to rough up the texture and establish microscopic footholds for the primer and paint to attach,” suggests Walker.
After sanding, wipe the debris off the cabinets with a cloth coated in acetone or ammonia to eliminate any remaining dust from sanding. Wearing a dust mask is also helpful to avoid breathing in small particles.
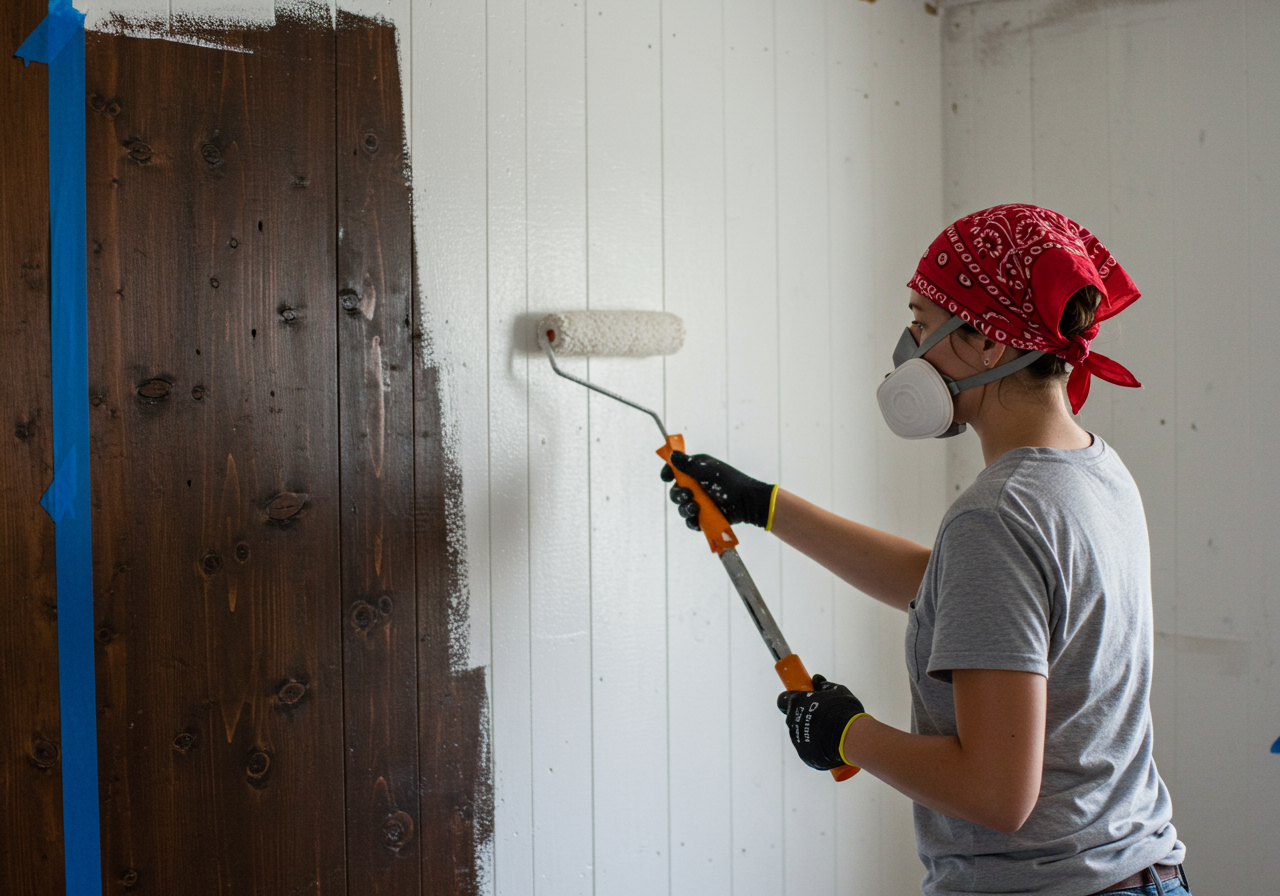
5. Apply a coat of primer.
Priming your kitchen cabinets helps the paint adhere to the surfaces, so apply primer on the surface of your cabinets using a sprayer, paintbrush, or foam roller.
For the best finish, Walker advises using a professional-grade paint sprayer, as rollers and brushes may leave fine lines and brush strokes that can remain visible in your finished product.
Prime the cabinet boxes plus the doors and drawer fronts.
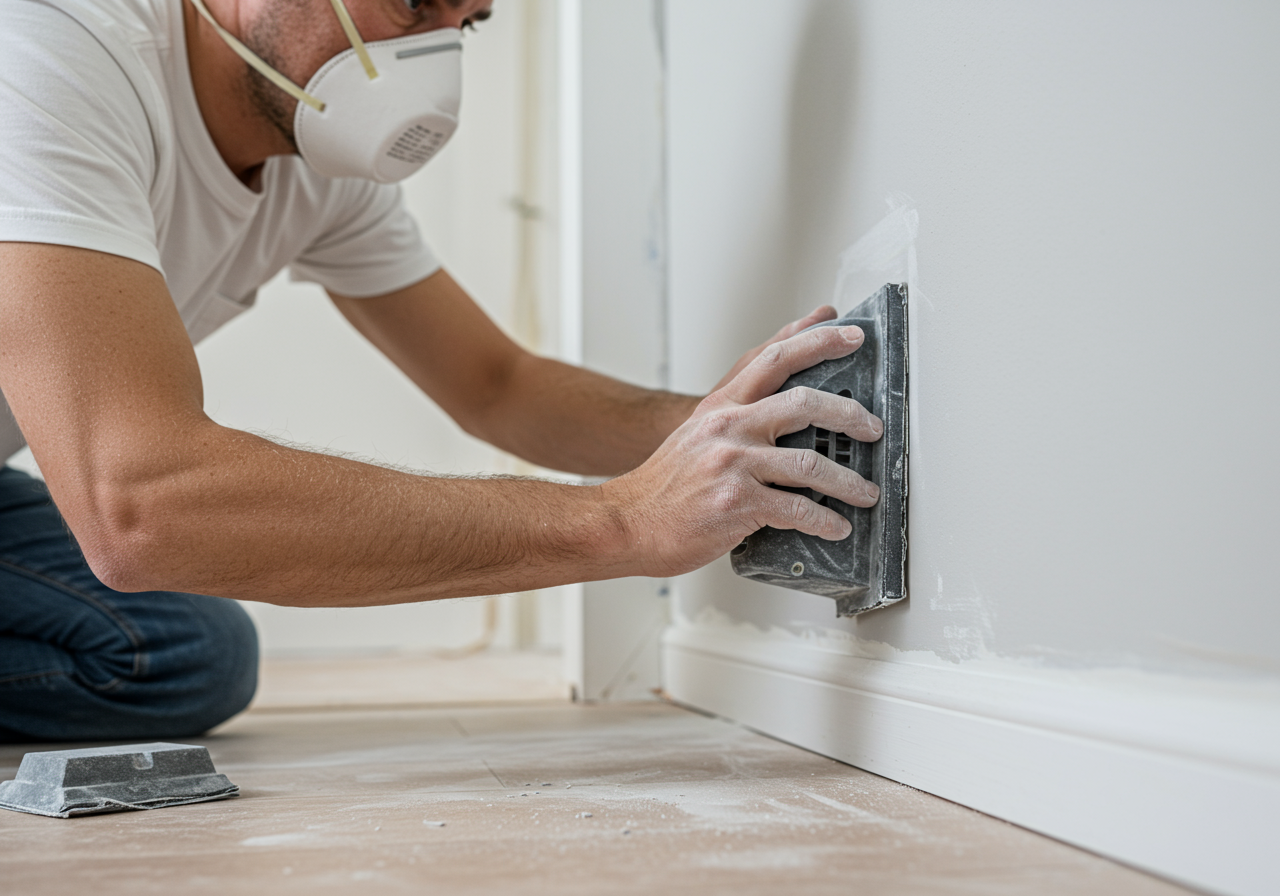
6. Sand your cabinet boxes, drawers, and doors again.
It may seem counterintuitive to sand a fresh coat of primer, but Walker advises that it helps get the initial surface as flat as possible and allow the paint to adhere.
“If the primer has raised the wood grain, or if it has left any rough spots, sanding will get everything to a uniform texture before moving on,” he says.
Follow the dusting steps above by wiping with acetone or a tack cloth to ensure no debris remains.

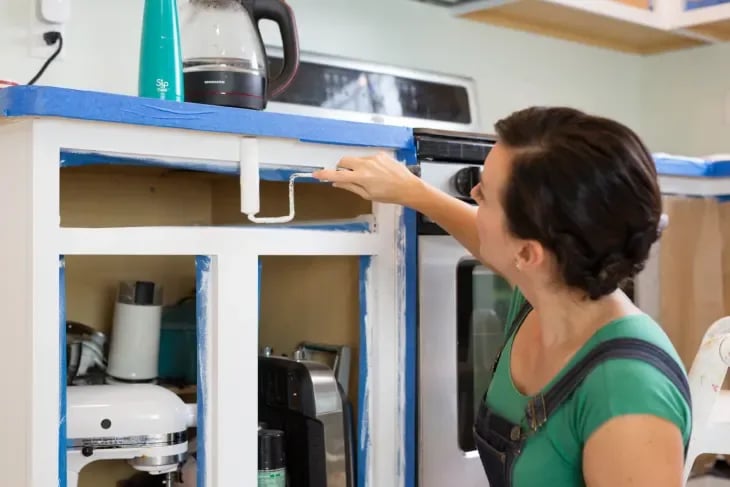
7. Paint the kitchen cabinets.
Finally, it’s time to start painting your cabinet boxes, doors, and drawers using a low-nap roller, sprayer, or brush. Walker suggests using two coats of paint, no matter what the can says.
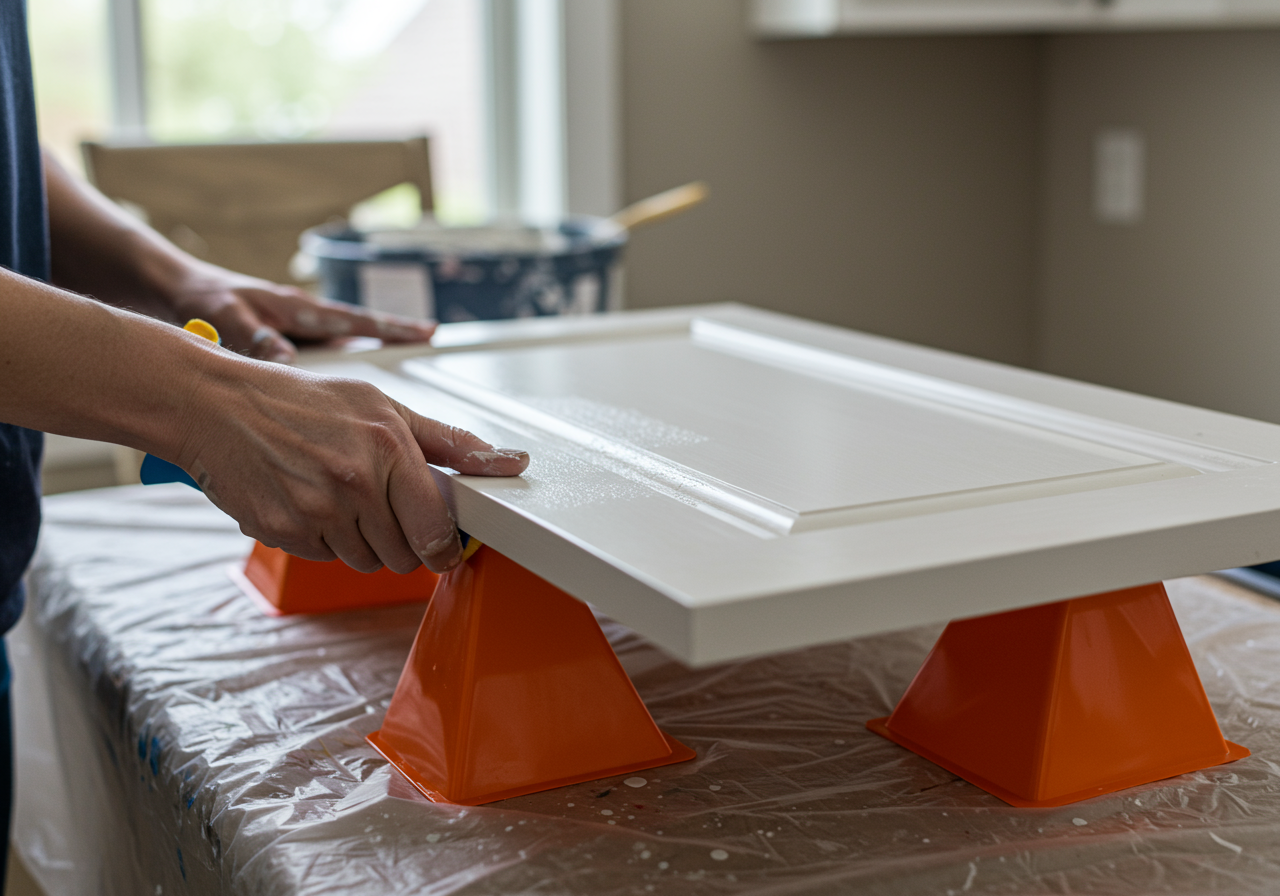
“Many brands of paint claim that they only require one coat to achieve coverage, but more coats are almost universally better and more durable in the long run,” he says. Of course, allow enough dry time between coats, as the paint company recommends.
8. Allow cure time, then reassemble.
Even if the paint feels dry, it still needs time to cure before you can use your cabinets without the danger of damaging your fresh paint job. It’s best to wait at least a few days before reattaching any hardware and rehanging doors or putting drawers back in.
Depending on where you live, take note of the environmental conditions to gauge when your cabinets cure. “If there is excessive humidity or the temperature is consistently too warm, the cure time will take longer,” Walker says.
Placing items, such as dishes and pans, on uncured paint can cause the color to stick, stripping off the paint while potentially ruining your belongings.
Mistakes to Avoid When Painting Kitchen Cabinets
Not only are kitchens high-traffic areas, but these rooms are also significant considerations when buying or selling a home, so your cabinets must present well. “Walls are forgiving, but cabinets will show you all of the mistakes you’ve made throughout the whole process,” Walker says. Here are four common mistakes folks make when painting their cabinets.
- Exposing surfaces. Using a drop cloth to protect your counters and floors is essential and much easier than dealing with cleaning up spilled paint or scraping off paint flecks.
- Forgoing primer. Think you can save time by skipping primer? Think again. Eliminating this step can cause paint not to adhere correctly so that it chips, strips, or flakes easily.
- Skipping sanding. In Walker’s words, “sanding is awful.” But even though it’s a messy job, sanding will help ensure a smooth finished surface.
- Using cabinets too quickly. Be patient and allow your coats to dry and the final product to cure. Loading or opening and closing your cabinets before they’re ready can ruin the hard work you invested in your DIY kitchen project.
FAQ About Painting Kitchen Cabinets
Should I hire a contractor to paint my kitchen cabinets?
In Walker’s eyes, the definitive answer is yes: You should hire a pro if you can afford it or are not an avid DIYer, especially because poorly done cabinets will irk you whenever you reach for a coffee cup.
“Professionals not only offer peace of mind that the job will be done correctly, but they also work much faster and provide a higher-quality product than can usually be achieved in a DIY approach,” Walker says.
How much does it cost to paint kitchen cabinets?
Joshua Parrish, a licensed contractor and DIY blogger, says painting cabinets yourself is the most cost-effective option. As with any kitchen renovation project, size matters, so the final cost of painting your cabinets depends on how many you have and their arrangement.
“If your cabinets are in decent shape (not warped or damaged), you could purchase cabinet-quality paint and supplies for around $200,” Parrish reveals. Hiring a contractor could cost over $1,000, stock cabinets can cost up to $5,000, and custom cabinetry is in the tens of thousands of dollars.
What do professional painters use to paint kitchen cabinets?
Are you wondering how to paint kitchen cabinets professionally? Professionals achieve a flawless look using a paint sprayer, eliminating brush strokes and textures produced by brushes and rollers.
Do you have to sand before painting kitchen cabinets?
While sanding is labor-intensive and messy, it’s a step you shouldn’t skip for a smooth paint job. So, if you want to know how to paint kitchen cabinets without sanding, it’s best to tackle the task anyway.
Can I just paint over my kitchen cabinets?
The answer is: It depends on what your cabinets are made of and the type of paint you use. If they’re wooden, the answer is typically yes, given you follow the correct steps. However, some surfaces won’t accept paint. “Avoid painting metal or laminate cabinets, as the paint may not adhere well,” says Jason Paris, a paint specialist with Paris Painting.
If you’re genuinely looking for a quick option, buy a cabinet-specific paint, which can help eliminate the steps of stripping, sanding, and priming. Most of these are water-based and designed for ease of use.
What kind of paint do you use on kitchen cabinets?
Because cabinets are touched often, it’s best to use high-quality paint, but if you want to be on the safe side, use a cabinet-specific paint.
Where do you start when painting kitchen cabinets?
Of course, you need to select your paint color and gather your list of supplies, but once you’re ready to actually start painting, there is one trick.
“To paint your cabinets, start by removing and labeling all hardware,” Paris advises. Labeling all of the bits and pieces of hardware can save frustration when you’re trying to reassemble the cabinets in the end.